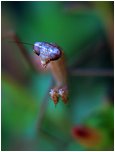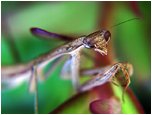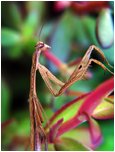


I didn't set out to be a mantis photographer but like a lot of my life it just happened.
For years I've used Nikon SLR equipment and one of my desires was to buy a great macro lens, but the one I wanted was US$1200, a bargain even I was able to resist.
So one of the pleasures of buying the Canon G1 was discovering that macro photography came as standard -- and learning that with a Lensmate and Hoya Close-up Filters, I could get even closer.
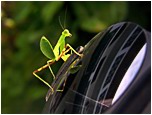
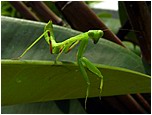
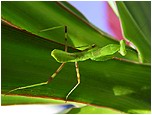
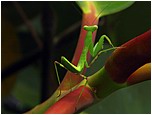
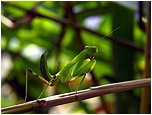
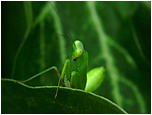
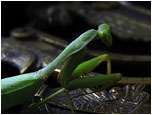
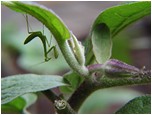
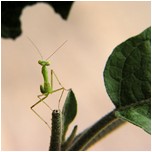
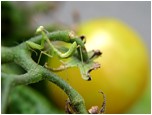
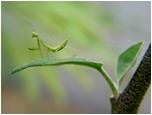
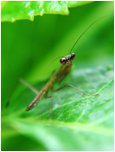
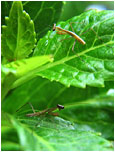
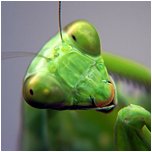
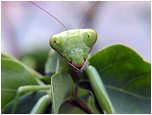
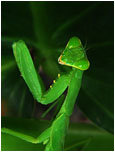
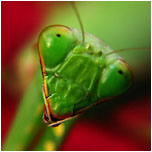
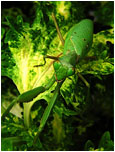
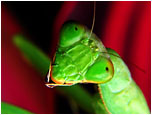
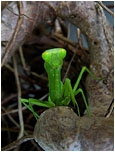
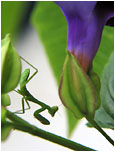
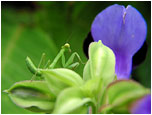
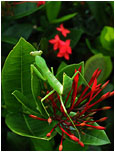
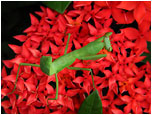
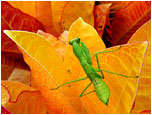
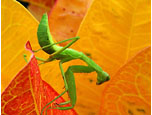
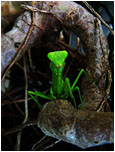
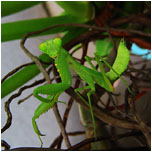
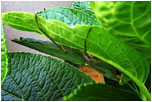
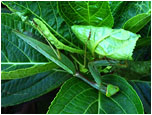
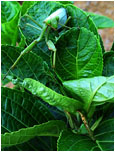
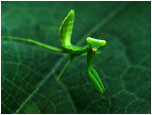
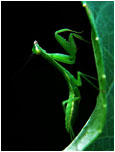
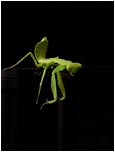
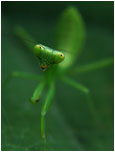
Fortunately, I had it all together by the time this small preying mantis entered our garden. He's about an inch and a quarter long and was very tolerant. He's in the first seven pictures in Mantisland.
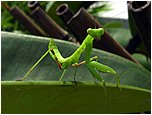
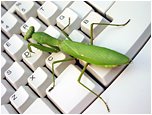
Times passes until one day it's announced that there's a mantis on the toaster.
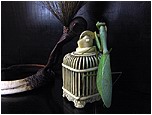
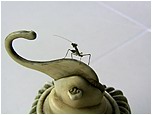
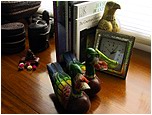
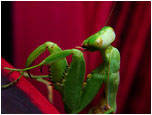
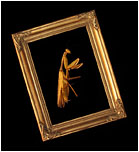
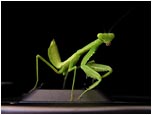
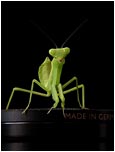
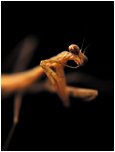
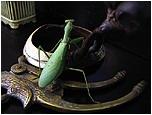
I took a few shots with marginal results and then placed her on our Korean step chest with some of the artifacts that Leela has collected over the years. She was calm, moved deliberately and held her positions for quite some time (the mantis, although it does rather describe Leela as well).
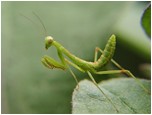
The two pictures I choose from the lot are my personal favorites of all the preying mantis photos. She is about three inches long.
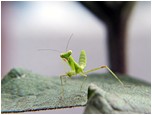
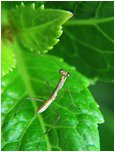
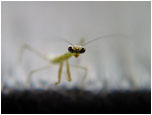
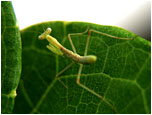
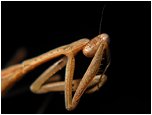
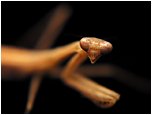
I was assuming my mantis days were over when I sat outside on the terrace one day, opened the newspaper and had a baby mantis hop onto my hand.
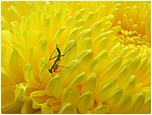
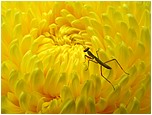
He was by far the most difficult of the mantises to shoot. He was hopping everywhere, especially onto the camera when I got close. Plus he was small, brown and nondescript, with little contrast or visual interest.
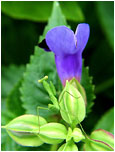
So I put him on a flower, whose petals he matched in size, and on the cricket cage I used in the adult mantis picture, simply for scale. He's about half and inch long.
So now I'm really done.
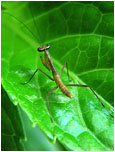
I've shot the three stages of life -- baby, teenager and adult.
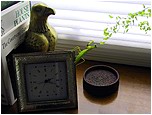
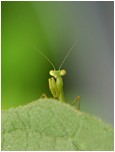
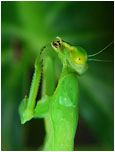
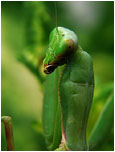
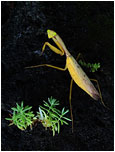
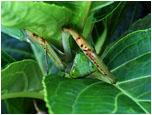
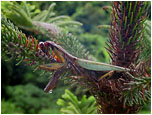
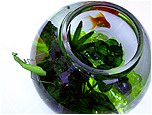
And then I walked out to feed our goldfish and found this veteran staring into the stockade. Like the other adult, he's about three inches long.
There are generally two approaches to taking macro shots with the G1 and G2 cameras: Use the dedicated Canon Macro Lens or choose Close-up Filters. Both solutions require an adapter.
The 250D Canon Macro Lens mates with the LA-DC58 adapter (58mm) which screws on to the camera body. From everything I read, it's a good-quality lens that's made for the task and the camera. It should give you better pictures at an equivalent size than multiple layers of glass, but I have not tested it.
I use the Hoya Close-up Filter Set which offers three filters in three diopters -- +1, +2 and +4. These are 49mm filters and you'll need the 49mm Lensmate adapter. The entire set is approximately half the cost of the Canon macro lens.
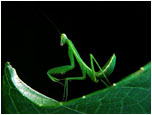
How clear are the Hoya filters? You can decide for yourself. The first seven mantis pictures and the baby pictures were taken through four layers of glass -- three close-up filters stacked (strongest one nearest the camera lens) and a UV filter. In retrospect, I should have removed the UV filter and perhaps the +1 Hoya and reduced the glass to two layers, but I'm happy with the quality of the shots.
Time passes: Since I wrote that paragraph, I've had to replace all my macro filters because of theft. Rather than buy the 3-pack, I purchased a B+W +5 and added a Hoya +10 Macro Lens with front threading. With those two lenses I have the option of +5, +10 or +15 (with wafer-thin depth of field). I'm very satisfied with the new combination. Less fuss and more versatility.
Whatever choice you make, you will quickly discover that your depth of field is very shallow and you'll get many photos where even the smallest animal or plant is not entirely in focus. That can be a good or bad thing. I tend to solve this problem by taking lots of shots. And the parts that are out of focus I call art.
|

